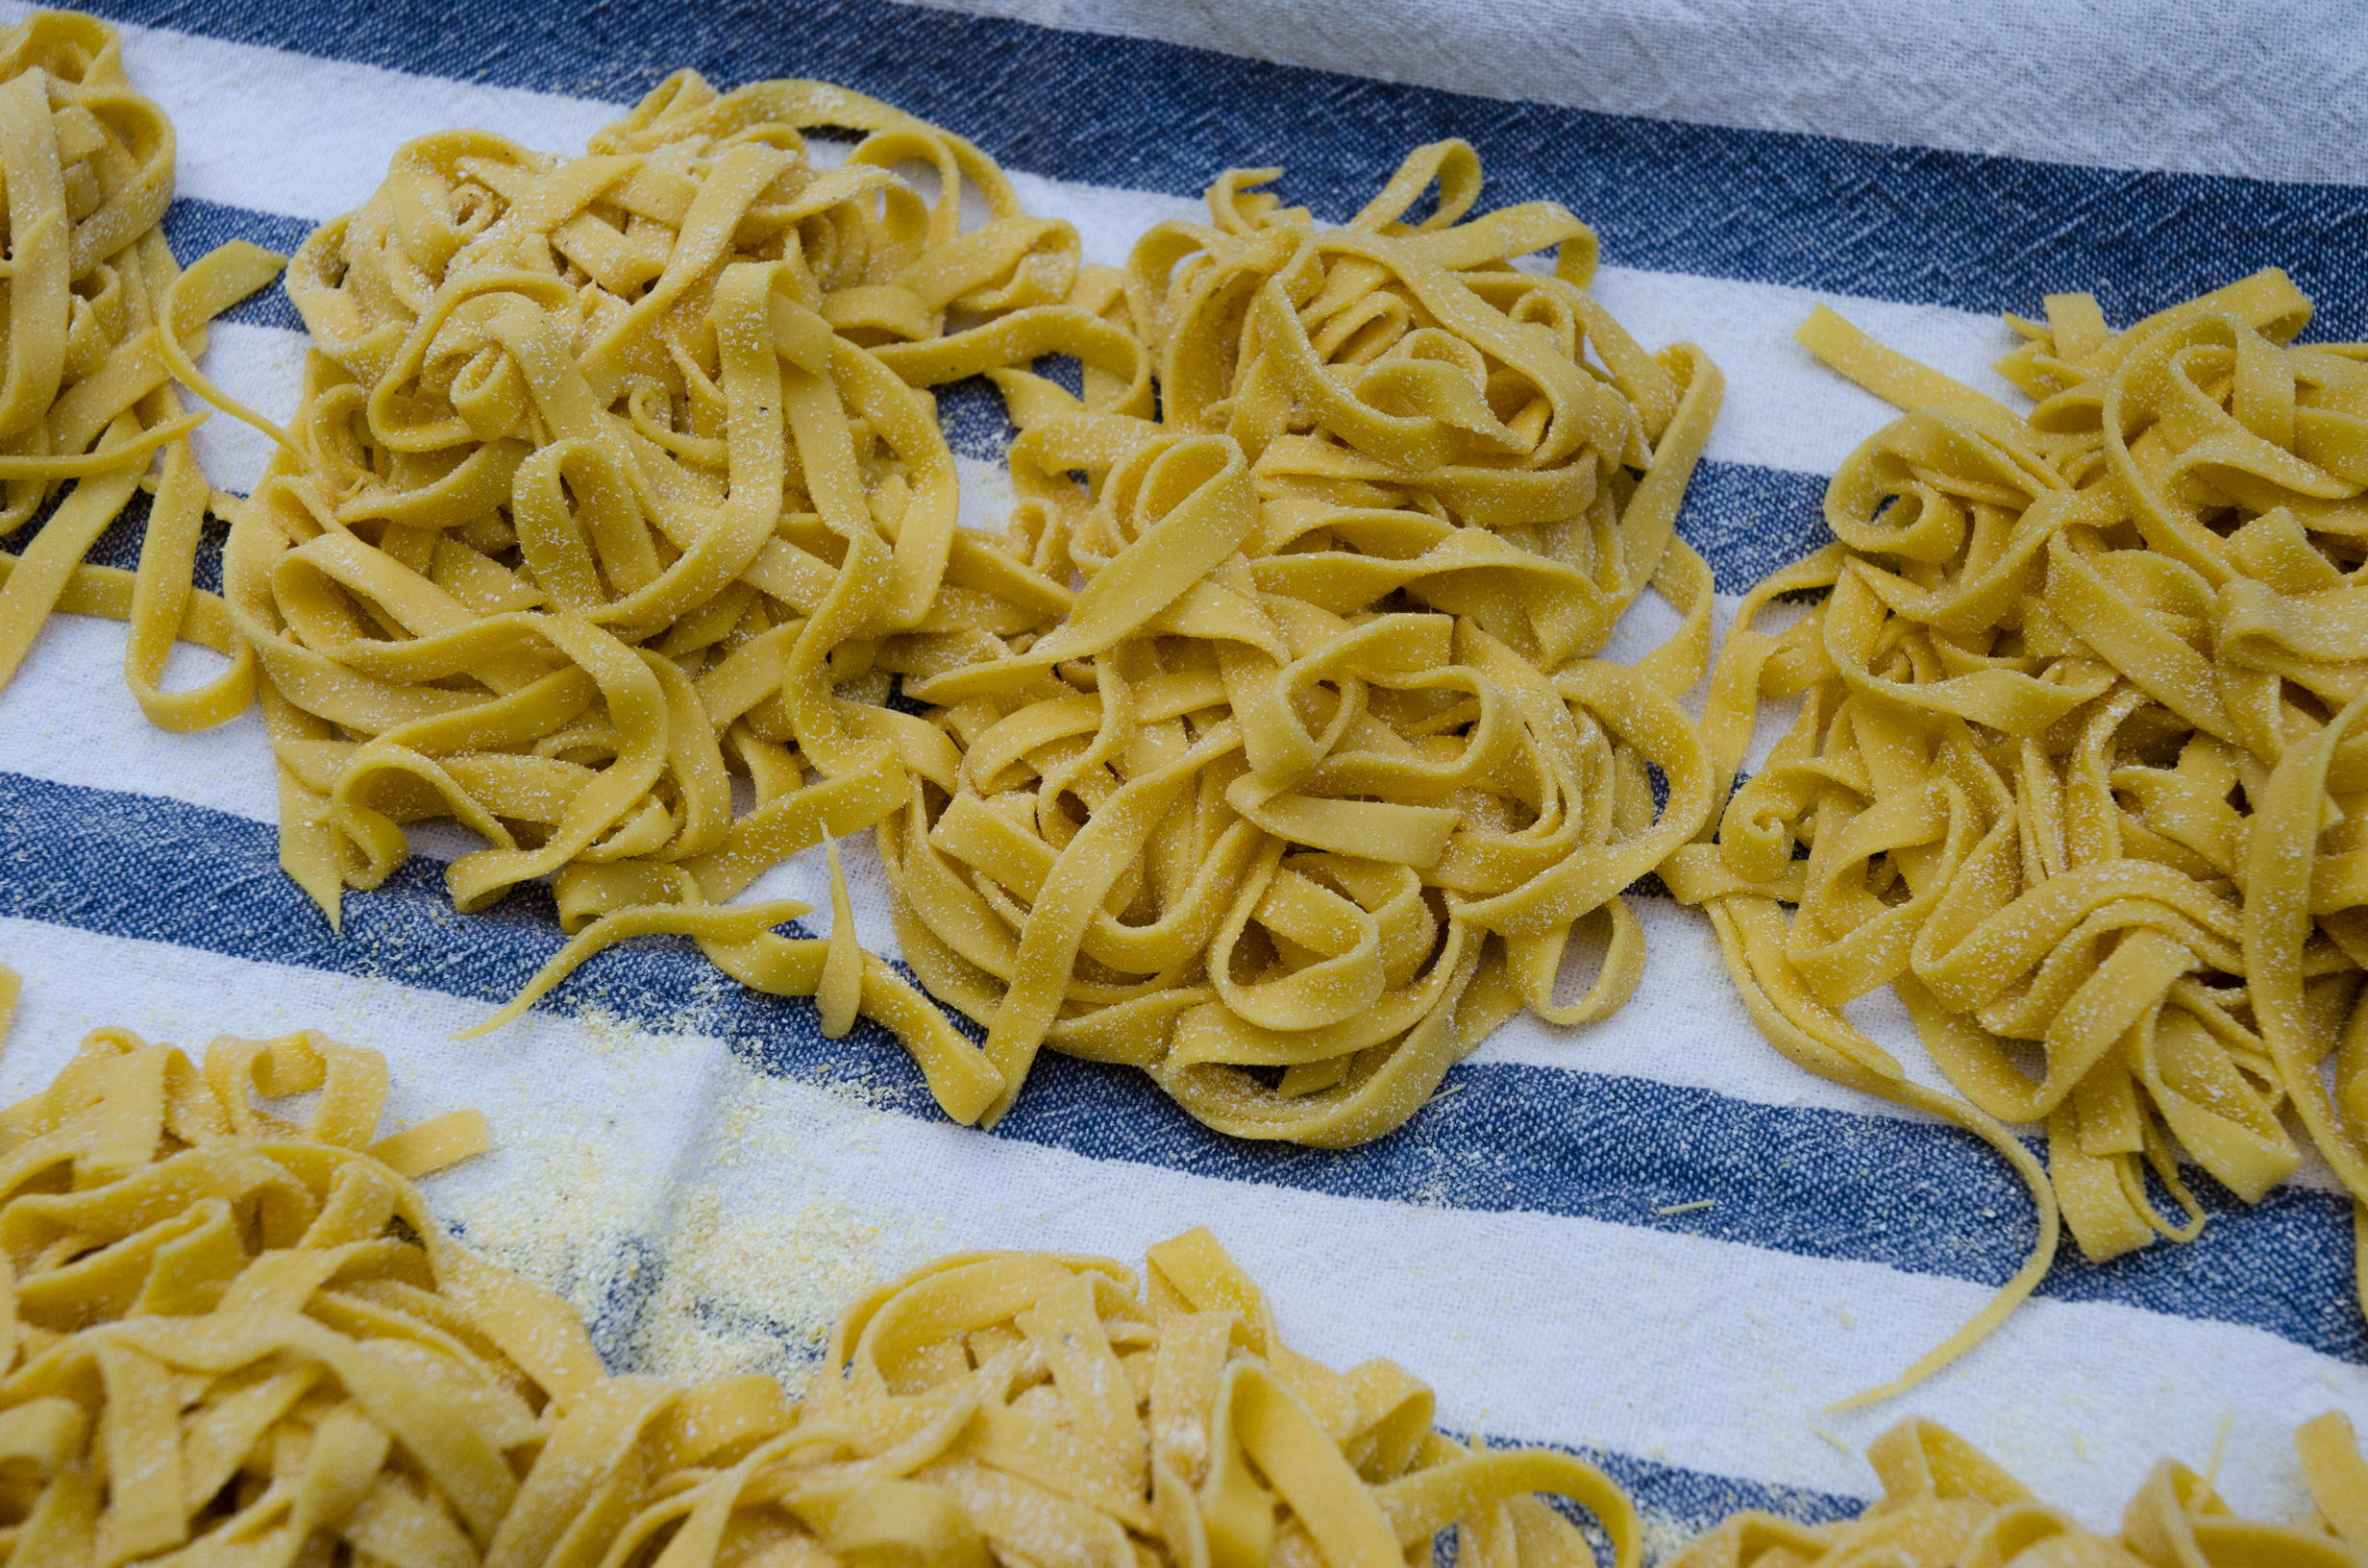
Guinea Egg Pasta
 Since I posted about our first Guinea hen egg of the year, those birds have kept us filthy with the things, laying as many as a dozen eggs in one day. It’s been wonderful having fresh, extra rich eggs always at hand, and we’re grateful to the girls for all their hard work, but there are only so many eggs the two of us can possibly use. We’ve been sharing our eggs with neighbors and friends, of course, but they, too, can only eat so many eggs.
Eggs only keep for so long in the fridge, and they don’t freeze well on their own, even cracked and separated. Then, a few days ago, as we were discussing how much more manageable the egg production had become since we’d lost a few birds to foxes over the past few weeks, it occurred to us at long last that we could use and keep a lot of eggs by making and freezing our own egg pasta.
We made our first batch on Sunday and enjoyed it with garlic scapes cut from our garden and ricotta we made from raw Jersey milk from a nearby farm. It was perfect.
Guinea Egg Pasta (4 modest portions or 2 biggies)
2 cups unbleached all-purpose flour (240g)
4 Guinea hen eggs
1 tablespoon olive oil (14g)
water, as needed
1. Measure flour onto a smooth, hard surface (we use a large marble tile), and use your hands to form into a mound. Make an indentation in the center of the mound to hold the eggs and oil.
2. Crack the eggs into the indentation in the flour and drizzle olive oil over them. Using your dominant hand, break up the egg yolks and mix loosely with the oil. Use the other hand throughout the process to gently pat and shape the outside of the flour mound, maintaining the integrity of its walls.
3. Little by little, use your now-messy dominant hand to bring flour in from the edges of the indentation, working it into the egg mixture as you go. Eventually the egg mixture will become thick enough that you can start working more loosely, breaking down the mound and integrating flour more aggressively without worrying about egg oozing all over.
4. As the dough becomes stiff enough to form a ball, scrape it and the remaining flour to the side of the work surface. Scrape any clinging bits to the side with the rest of the dough and flour leaving the work surface clean and smooth. Scrape everything back to the center of the work surface and begin kneading the dough, incorporating more of the flour as you go. If the dough becomes dry and lumpy and too firm to knead well, drip some water over the dough and work it in, dripping some more water on as needed.
5. Continue kneading the dough until it is smooth and elastic. Flatten the dough into a disc and cover it with plastic wrap or a damp kitchen towel.
6. Set up the pasta roller. Cut the dough in quarters and flatten one quarter enough that it will fit into the pasta roller on its thickest roller setting. Roll the dough through the machine on its thickest setting several times, folding it in half on itself after each pass through, until the dough comes out of the machine very smooth and free of holes, a sheet of pasta.
7. Adjust the roller setting to the next notch down (slightly thinner), and roll the pasta sheet through the machine. Continue rolling the pasta through the machine once at each successively thinner roller setting until the pasta sheet reaches your desired thickness.
8. Cut the pasta sheet into the shape you desire and either cook immediately in heavily salted boiling water (cooking times vary depending on the shape and thickness of the fresh pasta, it’s best to test to bite) or freeze it immediately in zip-top bags with as much air squeezed out of it as possible. To cook frozen pasta, add directly to boiling salted water from freezer (do not thaw before cooking).